Sunday, November 17, 2013

Things I Need (want) When I'm Older

-Wooden Kitchen Table

-Dehydrater

-A Ninja ( I have one now but it's my moms that Ive been borrowing.) ((Does the "If I have it for more than 6 months it becomes mine thing apply here?))

- A Vanity

-A Huge room to just hang my art in

-A Dyson Ball Vacuum

-A Keurig Coffee Maker

-Square Pottery Hand Made Plates

-A Bamboo Cutting Board

-A mini Pig.


Hopefully I win the lotto soon, or I start making mass amounts of money, or I finally meet a man who wants to be with me and take care of my life. Crossing my fingers for any of those three options.

The third would be beneficial.

Okay, not a real good creative post, but definitely fits with the daydream part, except it's 1 AM and I should really be asleep. So maybe it's a nightdream. But I'm still awake. Not so sure how that one works.

Sunday, November 3, 2013

Recycled Textbook Decorative Wreath

So if you're like me, you know that textbooks from school go to mad waste for the strange fact that they make you pay $150+ for a book you probably open the day before exams and then they don't buy them back because they decided to make a "new edition" that has 3 pages that are different, thus breaking your wallet and leaving you with wasted paper and heartbreak of all the money you just spent.

But hey, I hope you got an A.

Anyways, brainstorming led me to this recycled textbook wreath that is super easy to make and pretty cute to add something to your room! 
WOOHOO. FINALLY! SOMETHING PRODUCTIVE!


 BASICALLY all you have to do is roll the sheets from your book up, and tape them to a cone shape at an angle, and then glue them all on to a piece of cardboard and then WA-LA! done deal. Donezo. Boom. Badabing Badabang! I don't know what other expression I can use to describe the finalization of the product. I love it. I LUV IT!

Natalie nature would say, I LOVE IT!

Clearly, I love it.

It's cute. And more eco-friendly than throwing your book away.Unless you recycle, which I hope everyone does, but this is recycling too, in a different form... And then you don't have to hate your class for breaking your bank account because you're left with a little souvineer than you actually can be proud of!

All you need, your book, a cardboard piece of whatever the heck you want, I used a banana box that I got from work, and a hot glue gun! 

  Step 1: Pick out your book. I used my old Chemistry book from my first year in college that I've been doing nothing with for the past 3 years.


Step 2: Roll them sheets up guhhhhhrrl!


 I probably rolled about half the book, but I kinda just did a roll-as-you-go type of strategy because I didn't know how much I would need.


Step 3: Cut a circular cardboard type of base that you can glue the paper to. Clearly mine isn't perfect. Nothing's perfect in this world, so It doesn't really matter. You're going to cover it up anyways.


Step 4: Put them in a motion that you can fill the in betweens so it's easier to stack the paper. Once you start to fill it in, you can put them at different levels to add to the shape for however you want it to end up. I cut small pieces and large pieces so it flowed better.

Step 5: Decide what you're going to do with it. Mine is a skirt here.

 Or a hat.


Or a headband


Or just a decoration in your room. I sprayed mine with some left over glitter spray paint that I had from another project. I just hung it up with a tack. Wa-la!

Saturday, November 2, 2013

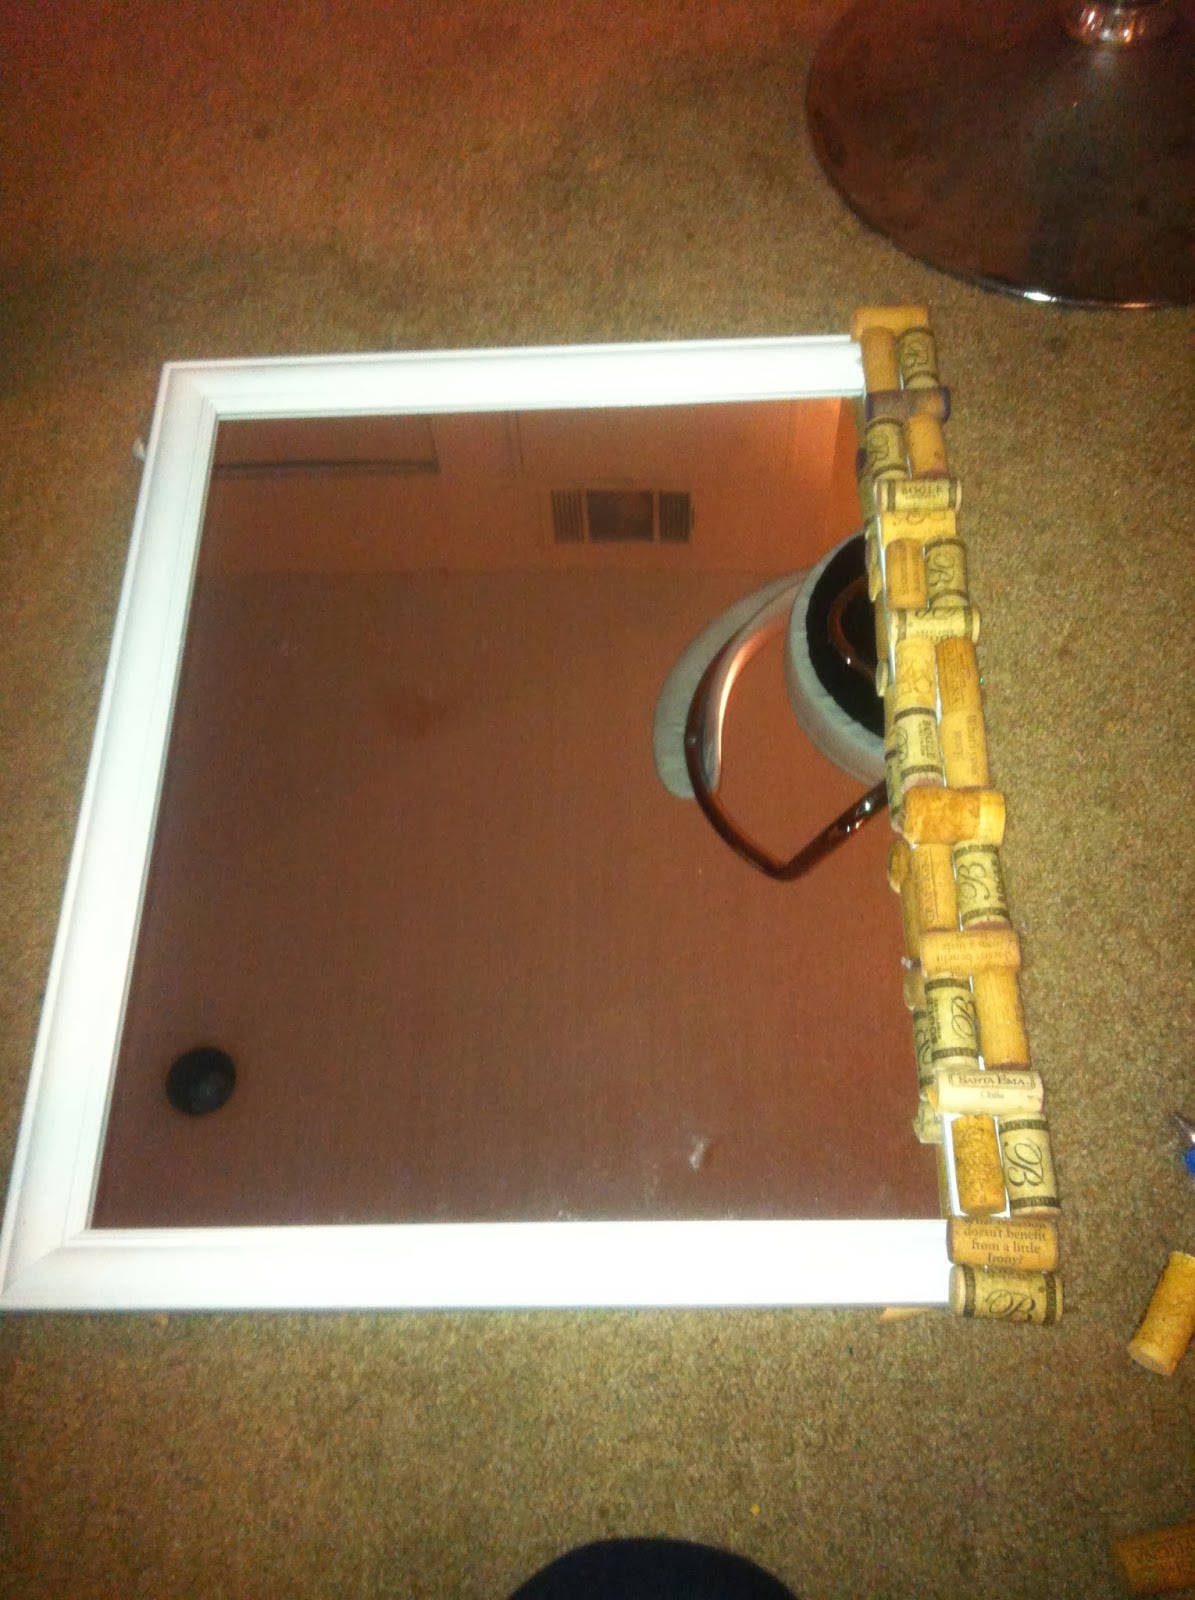
Wine Cork Mirror

Wine Cork Mirror


If you like industrial stuff, and DIYs, and wine, and mirrors, which who doesn't, then this is an easy way to incorporate it to your home.

You can use the mirror for anything, decoration, looking at yourself... and the wine corks add to it, for the beauty of it, or if you want to post pictures to your mirror, or notes, or whatever is in your nature of your life. duh. Do it. Just go for it. You know you want to. You know you love wine , hehe.

I made this for a friend/co-worker leaving our store. It was super easy, but I was saving these wine corks for a while, and she was helping me. If you work in a restaurant you obviously know that they go through a lot of wine.

Anyways, I had been saving these for about 2 months. I also was in the middle of moving for the 4th time this year, and I am quite handy with a glue gun. 

So this was the final product.


All you need is:

-wine corks
-mirror
-glue gun
-glue
-butterflies (optional)

:: wine corks, for about 2 months, and a mirror that you want to use with about a 1.5-2 inch rim. That way you have an area to glue to, and obviously a glue gun. I ran out of corks because a lot got lost in my move, so I picked up these butterfly items at Micheals, for only $3 for a pack of 10::

SO, the rest is just step by step view of how to do it! have fun!


Monday, October 7, 2013

Fall Time Bloggin'

Okay, so clearly I'm really bad at updating this thing.

I have a busy life! C'mon guys!


A N Y W A Y S
In the midst of my last year at UNF starting, and joining a Volleyball team on top of two clubs while taking 4 classes and working every single day cause I just moved a block from the beach (very well worth it), I still find some time, usually after 10 PM, to do creative activities that definitely add to personal happiness while in limbo with the rest of my life.

SO this post isn't really descriptive on how to make things, its just a general rant of my life and why I haven't been on here. Sometimes I just forget to take pictures in the process of making things, but tomorrow I'll have some good stuff on here!

I promise! 

Pinky swear.

Also, it's officially Fall. 
AKA my favorite season of the year, and October being my favorite month of the year.

Florida fails to get really cold until probably one week of December, then two days of January, then all of February so I can't wear cute clothes on my birthday, and stays in the 50s-60's until the day Spring Break is over, and... blah blah blah here I go again! Typical Sunshine State things. If you've ever been to Florida you understand where I'm coming from. We are semi-nut. Oh and I love Halloween.


..........

I don't know.

HEH.

But despite that, I do love Pumpkin more than anything. I bought 6 cans yesterday, knowing I will use them all very fast. Pumpkin is a great substitute for almost any type of ingredients added to things like cake mix, brownie mix, etc, and it really is amazing when you make it with spice cake... but we'll talk about that later. Basically, it's heaven in your mouth. So....  

Just wait.


Tomorrow, tomorrow, I'll tell ya, tomorrow.
It's only.... Okay it's 12:04am so technically it's tomorrow now but to justify I started this post before!!! SO the morning. 

Goodnight blog world!

Saturday, March 16, 2013

Marshmellow Madness GLUTEN FREE

Obviously, the title has to include a hint of crazy.

These were pretty delicious, and semi-healthy... they do have banana and coconut in them! No flour, so they're gluten free!

But then again... they also have white chocolate, dark chocolate, and mounds of sugar.

I found this recipe on another blog, and couldn't help but try it out. It's Coconut Banana "Smore's" bars! How could you go wrong?! 

They take the best of both worlds... the freshness of fruits, and coconut, making it like tropical winter dessert, and considering they were gone in 2 days I think they turned out pretty $%@&?! good.


Strategy.


Start with the insides.

Get your pen and paper out.
2 Bananas, 
1 1/2 c shredded coconut , 
1/3 cup sugar, 
4 oz white chocolate, 
4 oz dark chocolate,
 marshmallows, 
1 tsp vanilla extract,
 2 egg whites, 
1/8 tsp salt
  and, oh wait, that's it.


Preheat your oven to 350 F, and line a 8x8 pan (or whatever you decide to use) with aluminum foil. Theeeeeen spray it with cooking spray! This makes it easier to peel off at the end, and I don't know if anyone else realizes it or if I'm just oblivious to it,but aluminum foil makes things about a million times easier to clean.

Also wrap the 2 bananas in foil.

Combine the coconut, egg whites, vanilla and salt.

Afterwardzzz, add the sugar and vanilla.


Bake the base first. Don't worry, the white chocolate bakes into the coconut crust, so you don't have to make it very fine. Big chunks are perfect. No need for getting super fancy in this one.

Once this is finished, take it out of the oven along with the two bananas. Unwrap the bananas, but make sure you have a bowl near by cause they are going to be extremely HOT. Instantly mash them up and put over the base you just baked.

Then take the dark chocolate and spread it on top of your cooked, hot, steaming base.

Spread once it starts to melt.
I know it's tempting... but don't eat it yet! 


Not feeling dark chocolate? Try Nutella! I love that spread. Good on literally everything.

Put the marshmallows on top, I just scattered them everywhere to cover the full top of the pan but it's really just whatever you prefer. 
If you don't like marshmallows, anything would work. Maybe try spreading more coconut, or you could go nuts and spread some nuts on top! 
Don't fear the crazy.
The rest is easy...just as easy as the beginning. Bake it in the oven for 10 minutes. Keep checking! Once the marshmallows brown, take it out! They will get really big and puffy, then shrink completely.


Let this cool for at least 30 minutes.

If you want to speed it up, something easy is to put it in the freezer. Just don't forget about it!


Once it's cooled, you can pull it out of the pan from the foil lining, make sure you take the foil off before you cut, I tried to just do it all at once and ended up peeling aluminum off my s'mores for about 15 minutes. Those little pieces man....

Finished cutting?

DIG IN.

Monday, February 25, 2013

Delicious Brownie Cheesecake Cookies

Okay, I know I didn't invent this, but I definitely constreued the concoction to make it a little crazier. I loved it. I really think everyone else will too. This might be one of the best things I've ever made...

It's a BROWNIE on top of a COOKIE, mixed with CHEESECAKE. 

Ahhhhhh-mazing!


Literally they melt in your mouth.

Sometimes I think my soul must be 300 pounds. 

This recipe is so easy.

Step one:
-Buy chocolate chip cookie dough
(or virtually any kind of your choice)
-you could also make the dough, but I was rushed to make these for a birthday thing and only had about 2 hours.

Step two:
-Get some brownie mix.
(Also something you could make on your own... a healthier version may come later, considering I've been researching this Paleo diet thing.. but I don't know how much a food addict can truly avoid dairy and sugar.)

Step 3:
-Make the cheesecake.
this is simply done by getting cream cheese, eggs, and sugar and vanilla.
EASY. 
-1 egg
-1 tsp vanilla extract
-1 8oz. package of cream cheese ( I used Philadelphia)
-1/3 c sugar
Beat them all together, until its basically whipped.

Step 4:
Put them all together.
-Start with lining whatever pan you use ( I would stick with a 8x8 glass pan) with tin foil.
-Put the cookie on the bottom. Use the whole package. This is your base.
-Put the brownie on top of the cookie.
-Pour the cheesecake on top of the brownie, then drip the rest of the brownie mix over it in dotted-type formation.
This way, you can run a knife through them to make it marbled-looking and dispersed throughout the treats, as you can see in the first picture on the far right section.

Cook at 375 degrees for 40-45 minutes.

Let it cool before you touch anything. I would say wait about an hour, but I know this is hard to do when it smells so amazing. 
This way, I take back what I just said and say wait at least 30 minutes, or put them in the fridge to speed the process up.

Cut them up and enjoy!

<3

Wednesday, November 7, 2012

Fruit Pizza!

The best part of a pizza is the cookie crust!

When I was in elementary school, a kid in my class used to bring these to every "food" function we had. My attempts to recreate; perfect.


This is the final product.. As you can see, I did strawberries, oranges, pineapple, and the other little pieces are apples! The heart, is a strawberry, because I think presentation makes it perfect (even though you just cut it into 20 pieces after and "give it to all your friends" aka eat it yourself). The crust is just a sugar cookie that I made from scratch.

You can use any fruit! These were just what I had around the house.. I've made one with these and kiwi before, because the green just adds to the cuteness!


Sugar Cookie Recipe
3 c all-purpose flour
1 tsp baking powder 
1/2 tsp salt
1 c unsalted butter, room temp
1 1/4 c sugar
1 large egg
2 tsp pure vanilla extract
1 tbsp heavy cream

Toppings
1 8 oz package cream cheese
1 tsp vanilla
1/2 c butter
2 c powdered sugar
 & whatever fruits you want!

-Whisk together the 3 cups flour, baking powder, and salt. In separate bowl, mix on medium-high speed the butter and sugar for 2-3 minutes (seriously!), then add the egg and vanilla until its incorporated into the mix. Add the flour mix on low speed, a little at a time, til completely mixed in.

-Press the dough into a rectangle in some wax paper (or saran wrap) and freeze it for an hour at least.

-Once the dough is done, put it on a round cookie sheet (or whatever type you have, I just liked the round one because it looks more like a giant fruit cookie!) and bake it for 16-19 minutes. Keep checking to see when the cookie is golden.

-Let it chill for about an hour, then make the cream cheese topping.
Just mix butter and cream cheese together in one bowl with an electric mixer, then add the sugar and vanilla. Lastly, spread over the cookie. It's a little easier to do when the cookie is still hot, because it's WAY easier to spread!

Then distribute your fruits in whatever order / arrangement you want!

Wa-lah! :)