Thus, this red velvet cake inside a graham cracker pie crust covered in chocolate mousse and choco chips was created!

Who would have known this would be so delicious?
Okay, I had my assumptions.
So easy:
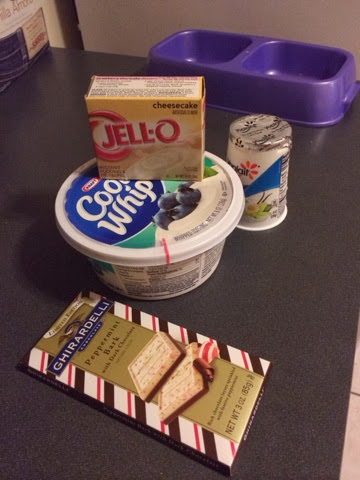
INGREDIENTS:
Red velvet cake mix
2 Graham cracker pie crusts
Jello - Chocolate flavored pudding
Plain Yogurt
Cool Whip tub thawed
Pumpkin purée
Bag of mini chocolate chips
STEPS:
1.) Mix the red velvet cake mix with pumpkin. Pumpkin purée is basically a substitute for ALL the inner ingredients required on cake boxes, and it's the healthy alternative. I use this for almost everything, it never masks the flavor. It's perfect. I love pumpkin!
2.) Pour about half the mix into the graham cracker pie crust. The whole thing will not fit in one, so you could make two pies which would be smart, or you could put it aside and make red velvet cupcakes like I did and eat them all the same night.
3.) Bake the cake for about 36 minutes, or until the center comes out clean when you stick a tooth pick in. Follow the temperatures on the cake box.
4.) While it's cooking, you can make the chocolate mousse. Easy as pie! (Pun intended) Combine the jello mix, yogurt, and cool whip. Let it sit in the fridge to garden a little while the cake is cooking.
5.) When the cake is done, let it cool for about 20 minutes so the mousse doesn't melt when you put it on too. Then, do the obvious. spread the chocolate mousse on top, sprinkle with the mini chocolate chips.
ENJOY! I promise everyone will love you!
Happy Thanksgiving friends!